12 Ways Artists Can Create Texture with Oil Paint
One of the most intriguing and pleasurable things about painting with oil paint is the ability of the artist to create a variety of textures ranging from watery drips to thick impasto brush strokes. Numerous things can affect the texture of oil paint, depending on what you desire.
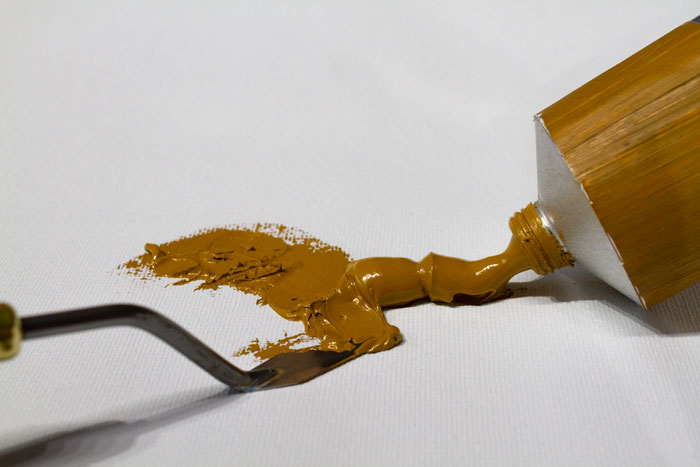
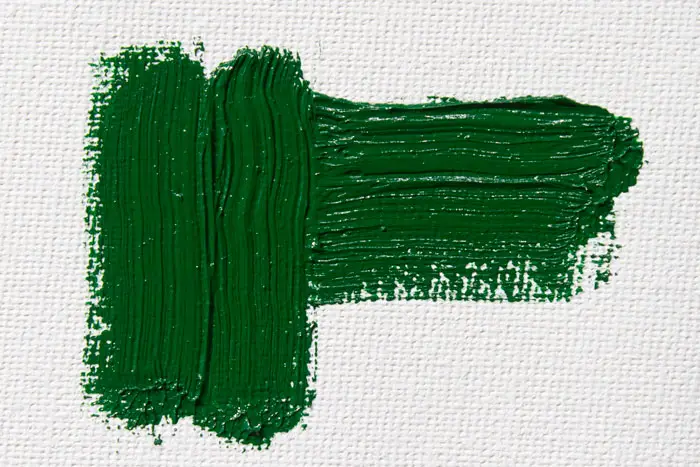
Oil painting with texture is achieved primarily by the consistency of the paint you use. Thick paint will produce impasto texture, while thin paint will reveal more canvas texture. You can also achieve a variety of textures by how you apply the paint and the type of surface you use.
Of course, many artists working in oils desire impasto painting, but even within impasto painting, there are different techniques that will achieve a variety of textures. Let's explore some of these below.
Use Oil Paint with Tube-Grade Viscosity
Let's look a little more at achieving texture with paint viscosity. If you are using a good, quality artist-grade paint, you can usually achieve impasto textures by using the paint as it comes straight from the tube, without the use of mediums.
But this also depends on which colors you are using. Certain colors are naturally more oily and have a lower viscosity than other colors. For example, it will be easier to create thick layers of paint with a Yellow Ochre than with Ivory Black since Ivory Black has a higher oil content and not as much body.
So if you want to create thick texture, start by using the paint straight from the tube without any thinning or adding impasto mediums. This will achieve impasto textures and effects without the hassle of adding mediums.
Keep in mind this doesn't mean you cannot thin the paint at all to achieve impasto texture. Thinning the paint with just the right amount of mineral spirits can give the paint some flow, which still maintaining its body and thick nature. Just don't add so much medium or spirits that the paint becomes soupy and runny.
You also want to make sure you have a generous amount of paint to apply to the canvas. Impasto applications require a lot more paint than thin layers do. With thin layers, you spread the paint around, but with impasto applications you lay the paint on the canvas with minimal if any spreading. This approach requires a lot more paint.
Remove Oil from Pigments Before Painting
As described above, the more oil a pigment contains, the more difficult it is to create impasto texture with it. One trick to thicken up your paint is to squeeze some out onto an absorbent surface such as thick paper or cardboard before you start painting. This will draw out some of the oil from the pigment and make it more tacky allowing for easier applications of thick paint.
Some websites recommend placing your oil paint on cardboard a day before you start painting. I've found that the paint can start to get pretty tacky after just an hour. The time needed will depend on the brand of paint, it's oil content, and how tacky you desire your paint to be.
Use Impasto Oil Painting Mediums
Certain colors of oil paint can be very expensive. While you may not think twice about applying thick layers of Burnt Sienna, applying thick layers of Cadmium Red can hit your wallet pretty hard. In steps impasto mediums. These are mediums that you add to your oil paint to thicken them up which allows you to create thick, impasto texture.
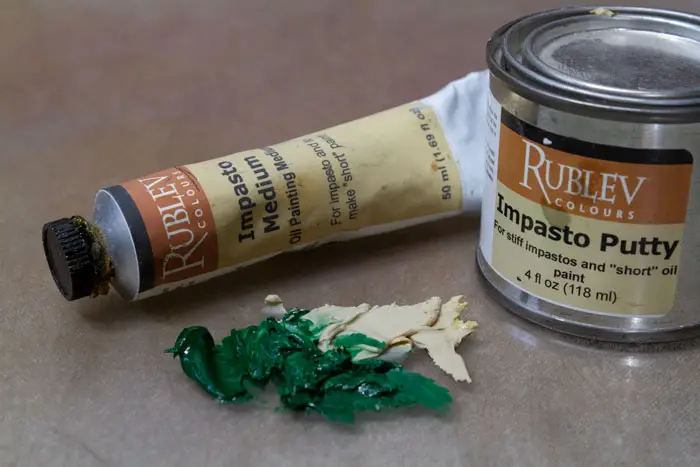
There are a number of brands on the market. One of the most popular is Lukas Painting Butter Impasto Medium. It's a gel-like substance that is alkyd-based so it dries fast. It claims there is no shrinking or cracking once it dries.
There is a great company out there called Natural Pigments which carries four different types of impasto mediums for the serious artist made by Rublev. Their Velazquez Medium makes colors slightly transparent. They also have Impasto Medium and Impasto Putty and they also have Oleoresgel and Underpainting Transparent Base which doesn't contain any dryers.
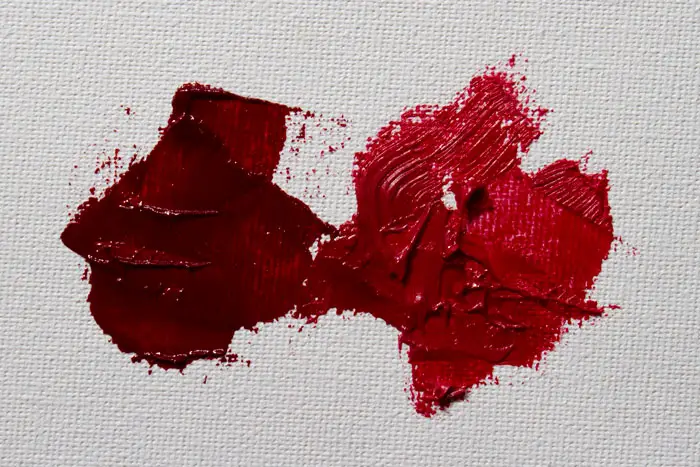
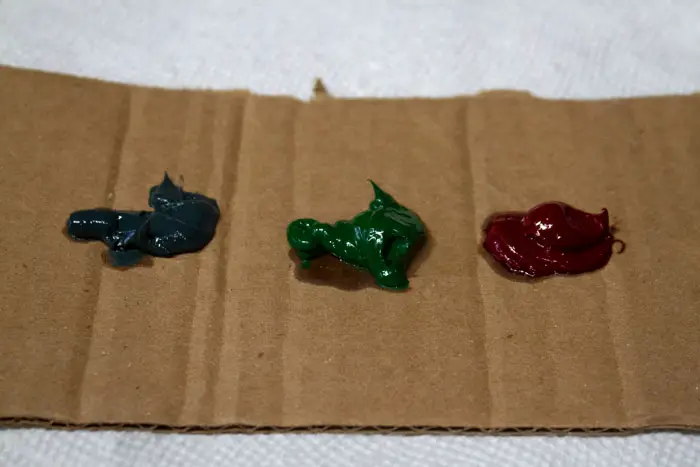
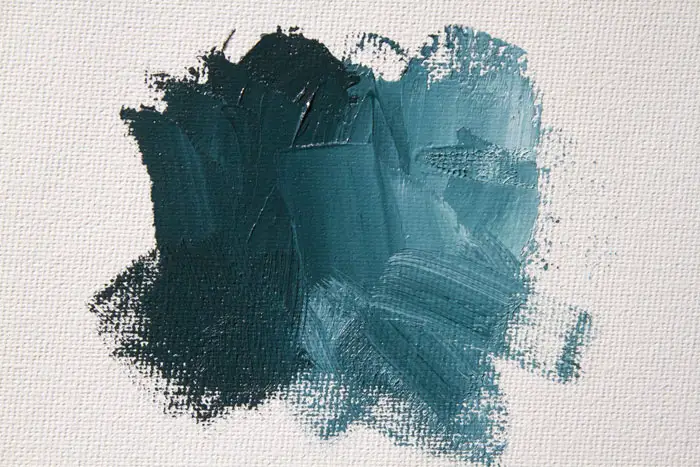
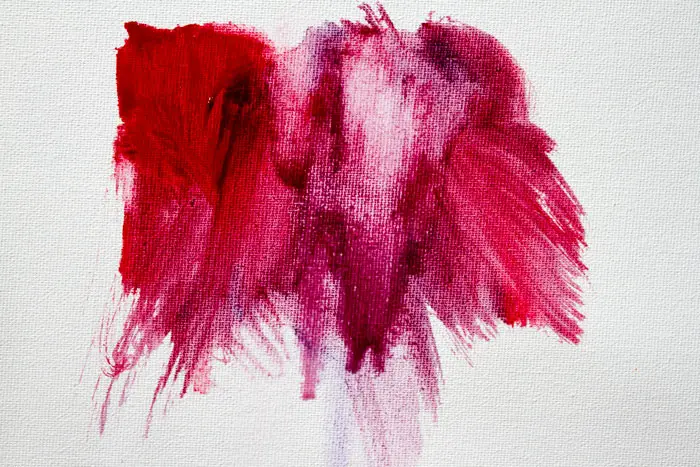
I've used Rublev Impasto Medium and it works great! It gives the paint plenty of body yet the paint retains a buttery feel that is very easy to manipulate. One thing about Impasto mediums is that they can have a tendency to change the value of the pigment. In the photo above I used pure Alizarin on the left and the same pigment mixed with Rublev Impasto Medium on the right. You can see the paint on the right is slightly lighter in value.
Add Beeswax Medium to Oil Paint
Beeswax mediums can thicken your oil paint and achieve textures that are not possible with oil paint alone. Unlike the impasto mediums mentioned above, wax has a slightly stiffer feel and a dryer look.
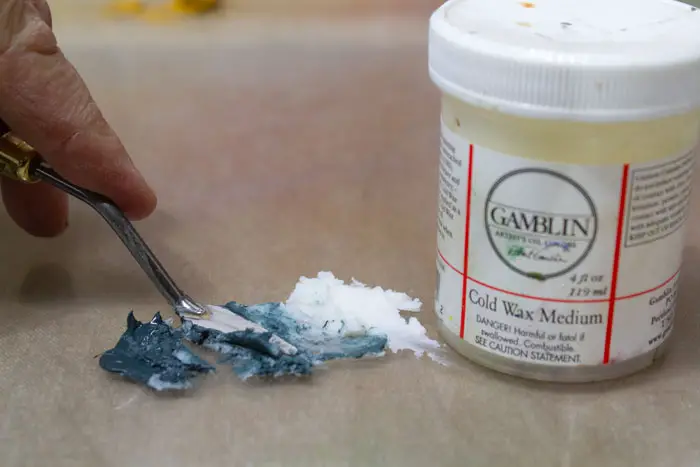
If you really want to sculpt with your oil paint and have more control over its final appearance, then wax is the way to go. Wax has more of a tendency to hold together, so less will end up on your knife when sculpting. Using a beeswax medium such as Coldwax by Gamblin can border on encaustic painting. You can also sculpt or scratch back into the wax layer, revealing the surface underneath.
For example, you can add a layer of color mixed with wax over another layer. Then you can take a textured item and press it into the top layer, recreating that texture onto the paint surface, or you can cut into that surface with a rough object and reveal the colors of the initial layer. You can apply the paint with squeegees or scrappers for rough, interesting textures. You can also add dry mediums like sand into the beeswax and paint to create even more textures.
Wax is also great for those seeking a more matte finish with very little gloss.
There is an entire website dedicated to the use of Cold Wax medium. Check it out here.
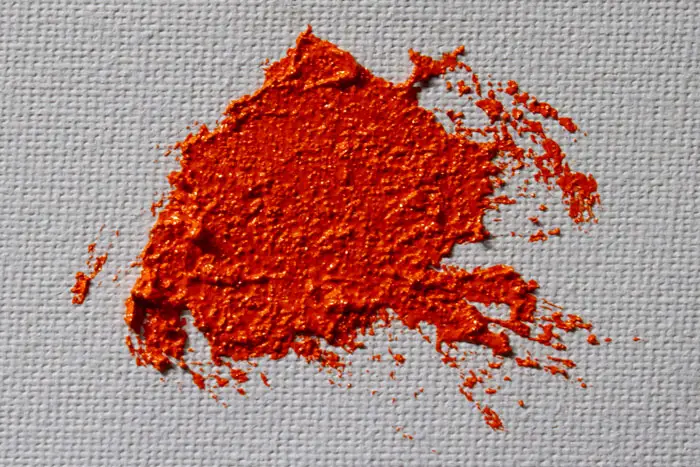
Add Dry Mediums to Your Oil Paint
While this may be more suited for abstract painting, dry mediums will take your texture to another level. Dry mediums are dry, solid additives that you can add to your oil paint or an oil paint medium. These mediums include sand, gravel, pumice, marble, and even glass beads. As you can imagine, adding these mediums will give your painting a texture that cannot be achieved any other way.
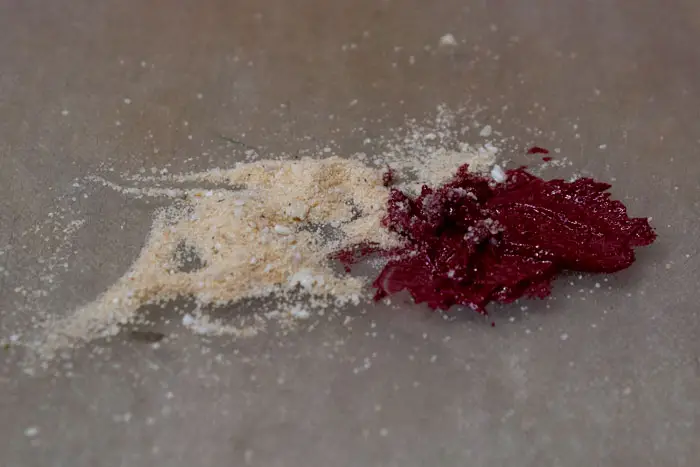
You may be tempted to just head out to the beach or the nearest dirt road and pick up some sand and throw it into your paint. The concern is that this sand may still have some organic compounds that could compromise the integrity of your painting. Also, it would be difficult to sort out all those small stones into a consistent size.
If you use dry mediums you may want to consider applying them either with a palette knife or reserving a separate set of brushes for dry mediums as finer particles like sand may be difficult to remove from your brushes.
Matisse makes an entire line of dry mediums for oil painting. Click here to see more.
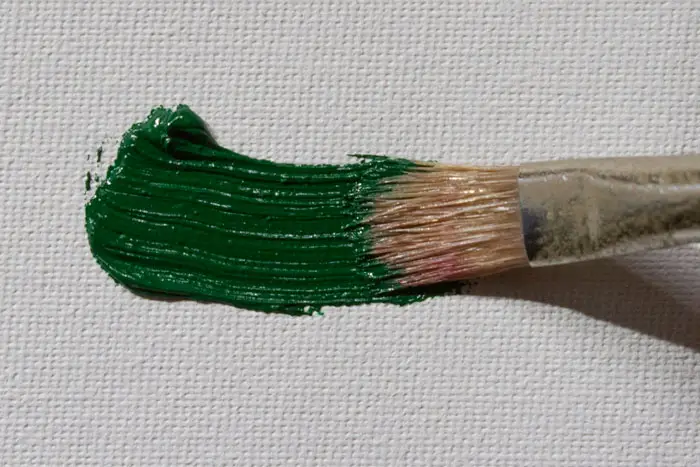
Use Bristle Brushes for Impasto Applications
Impasto painting with a bristle brush is probably the most common way to apply impasto oil paint. A bristle brush, hog bristle or Chungking bristle usually works best because the stiffer bristles will hold thicker paint better than a soft brush such as sable. If you desire a softer brush, mongoose or imitation mongoose brushes also work well. They have enough body to hold thick paint, yet also have softer hair and leave fewer brush tracks in the paint.
The key to impasto painting with a bristle brush (or any brush for that matter) is to mix plenty of paint and load the brush up with a generous amount. When loading the brush, rather than dragging the bristles over the paint, try reversing the direction of movement and push the bristles into the pile of paint as if you were shoveling the paint with the brush and the bristles where the scoop of the shovel. This will load up your brush with more paint than the standard drag-method of picking up paint.
Now with your brush loaded, gently drag the brush over the canvas, holding your brush very lightly. It's important that you gently drag the brush rather than push it into the canvas. Applying the loaded brush with significant pressure will cause the paint to spread out and you will lose the impasto effect.
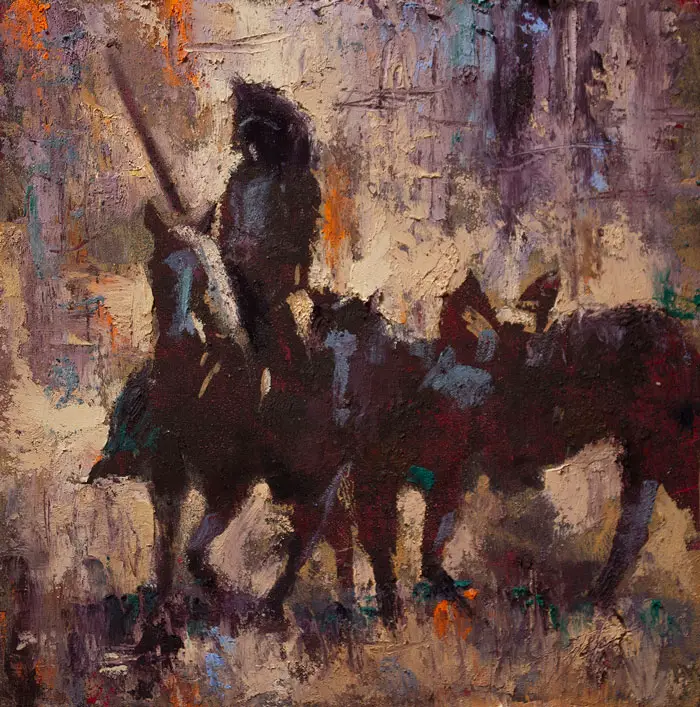
This approach will result in strokes that show the small ridges or tracks created by the bristles of the brush. This is great for achieving what is referred to as a "painterly look". The late master artist, John Singer Sargent was one of the champions of this approach. If your paint is slightly stiff, or if your touch is ultra-light, the results will be more of an organic, random application of thick with minimal brush tracks. Experiment with this approach until you develop your own touch.
One thing you will want to be aware of when using this approach is how the little ridges created by the brush tracks will pick up any light that shines on the paint surface. Since the light source will usually be from above, horizontal strokes will pick up and reflect light, causing a slight glare. The result is that any horizontal brush strokes will appear lighter in value, even if the paint used is the exact same color and value as the surrounding brush strokes.
This glare can be used to your advantage if you want to show interest or even a sense of vibration in an area that otherwise is all the same color and value. Just make sure it doesn't become too distracting and take away from the actual subject matter of your work (unless texture is your subject matter). Also be aware that the darker the color, the more these types of brush strokes will reflect light.
One trick to minimize the glare caused by horizontal brush strokes is to very gently go over those strokes with a clean, soft mongoose (or imitation mongoose) sable brush. As long as you do this very gently, it will knock down the brush tracks created by the bristle brush, yet retain most of the impasto characteristics of the stroke.
Tap Paint Onto the Canvas For an Organic Effect
Once again, using a well, loaded bristle brush with the paint loaded mostly on one side, gently but rapidly tap the loaded side of the brush onto the canvas. This creates small, organic ridges of impasto paint without the organized and possibly glaring brush tracks created by standard brush strokes. Using this method to blend and add layers of paint can also produce interesting results.
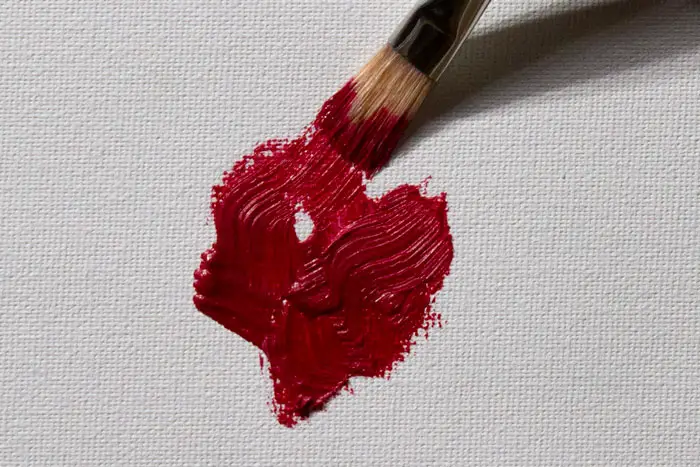
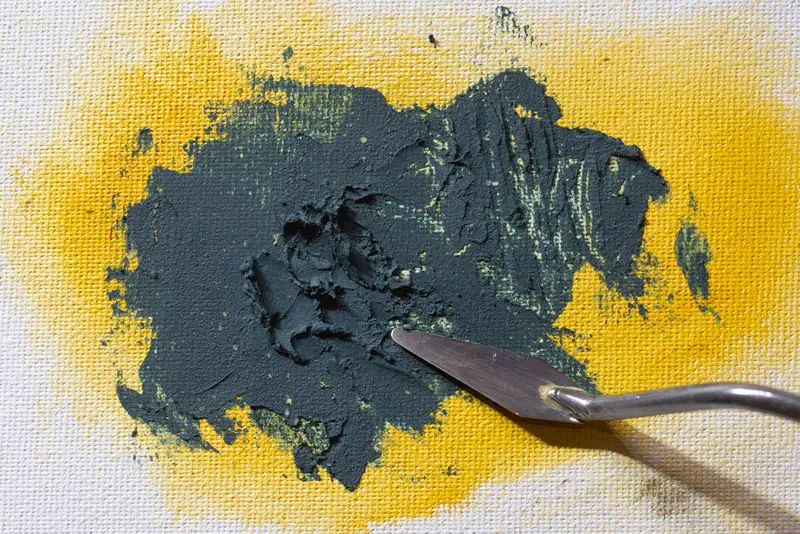
Apply Impasto Paint with a Palette Knife
Applying oil paint with a palette knife is another common way to create impasto texture. The key is to load the knife with plenty of paint and apply with a light touch, gently laying the paint onto the canvas. This technique is reminiscent to frosting a cake.
You can pick up several different colors with the palette knife and lay them down together to get an interesting marbling effect. The palette knife can also blend thick paint in a way you cannot achieve with a brush.
One thing about using a palette knife is that it will not leave the track marks that a bristle brush produces. Making long strokes with a palette knife will leave a very smooth stroke of paint. This can also cause a glare that has a different characteristic than the glare caused by horizontal brush strokes. If this becomes a problem you can gently rough up these smooth areas with a brush for a very subtle texture.
Combing thick brush and palette knife applications can produce a very interesting texture on the surface of the painting (see above photo).
Use Low Viscosity Paint for Thin Textures
When people think of oil paint texture they usually tend to think of thick, impasto textures. But you can achieve different textures with thin, low viscosity oil paint. The best way to thin oil paint for these types of textures is usually with a solvent such as odorless mineral spirits so as not to violate the fat over lean rule, unless of course you are applying this layer over previously applied paint layers, in which case an oil-based medium may be the best course.
Applying oil paint that has been thinned to an almost a watery consistency can create interesting drips and run marks as the thin paint runs down the canvas. You can also lightly rub the paint with a paper towel or palette knife to create random scratchy marks. Combining these thin techniques with impasto paint can create an exciting abstract quality to your paint surface.
Thin paint techniques work well on both rough and smooth canvas but seem to lend better to smooth oil-primed canvas. If you can get your hands on some smooth-grade lead-primed canvas you can produce some really interesting effects that are almost impossible to produce on acrylic-primed canvas.
Use Different Grades of Canvas
Rougher canvas will have more influence over the final texture of the painting while smoother canvas allows the paint application to have more influence. If you apply thin paint onto a rough-textured canvas, the rough texture will dominate all the areas where the paint is left thin. You will have to apply very thick strokes of paint to overcome the influence of the canvas texture.
When using a variety of paint applications, a smooth canvas has minimal influence on these applications and allows the paint to speak more for itself. If your desire is to paint mostly with impasto paint, then you will want to go with a medium or heavy textured canvas as the heavy texture allows for a better build-up of thick paint.
Prime the Canvas with Gesso to Create Texture
Gesso is used to treat and protect the natural fibers of canvas. There are two types of gesso, traditional and acrylic. Acrylic gesso is more flexible than traditional but is also less capable of creating texture. You also want to make sure that you don't apply it over any surface that already has oil or oil-priming. While you can paint oils on acrylic gesso, there is debate on how archival it is.
Traditional gesso is thicker and better suited for creating textures for a surface that will be painted on with oils. However, in its dried state, it is more brittle than acrylic gesso and therefore should be used on firm supports such as wood rather than flexible support like canvas.
The great thing about using gesso to create texture is you can brush it on and create paintbrush texture on the canvas even before you begin painting. Thin applications of paint will have the appearance of impasto layers. You can also apply the gesso with a palette knife or use different application techniques to create a wide variety of textures.
Another great substitute for gesso is Gamblin Ground made by Gamblin Oil Colors. It can be applied to rigid and flexible surfaces, is non-absorbent, and is very easy to work with.
Use Unconventional Tools to Create Texture
You are not restricted to tools sold by art stores or techniques taught in art books. You can create textures with paper towels. Soft paper towels like Viva will leave little texture while rough paper towels will leave stronger textures.
Use the back end of your brush to draw lines into the paint, or use an old comb to create numerous lines at once. Some artists will also press corrugated cardboard onto a paint surface. Anything that will cleanly make a texture is fair game.
How to Avoid Cracking Paint
There can be a downside to creating thick layers with oil paint, and that is cracking. If you apply really thick paint onto a flexible support such as canvas, it's bound to crack sometime down the road. I once saw an artist couple who painted with oil paint so thick, it looked like cake frosting. Their paint application was literally over an inch thick in some spots, and it was on canvas. I wondered if some of their collectors would wake up one day to find pieces of dried oil paint on their living room floor.
If you are going to paint thick, and I'm talking at least 1/4 inch, paint on a firm support such as wood, Gatorboard or better yet Alumacomp panels.
Jason Tako is a nationally known fine artist who specializes in western, wildlife, plein air, and Historical Native American subject matter. He spent his learning years sketching the wetlands and wooded areas of rural Minnesota. He has been featured in Plein Air Magazine and Western Art Collector Magazine and he was the Featured Artist for the 2020 Southeastern Wildlife Expo. See his work at www.JasonTako.com and his demonstrations on his YouTube Channel.
Warning: Undefined array key "preview" in /home3/mysketc2/public_html/wp-content/plugins/oxygen/component-framework/components/classes/comment-form.class.php on line 75
Warning: Undefined array key "preview" in /home3/mysketc2/public_html/wp-content/plugins/oxygen/component-framework/components/classes/comment-form.class.php on line 79