Advanced Charcoal Techniques
Advanced charcoal techniques can start out with simple things, like working left to right if you are right-handed and vice versa if you are left-handed. It can also help to have the work attached to a drawing board and standing upright on an easel. You can hook a small cane onto the back of the board your paper is attached to in order to have a place to steady your hand.
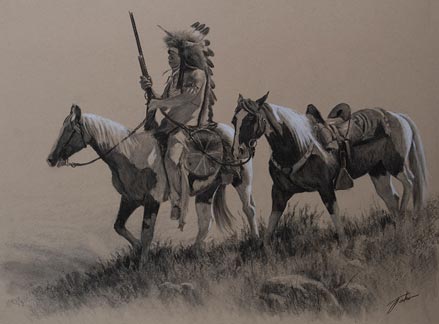
Below is a step by step demonstration of a fairly detailed 18x24 inch charcoal drawing that I recently did. You can see a video of the entire drawing process here on YouTube. This drawing was done on Strathmore Toned Tan Paper (see resources page), which is very forgiving for charcoal and the tan color gives it a nice nostalgic feel.
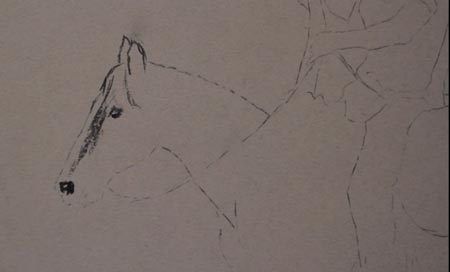
A smaller sketch was scanned into Photoshop, enlarged it to 18x24, printed it out, then transferred into the final paper with carbon transfer paper. Only the basic shapes were transferred. Lines left by transfer paper are more difficult to erase, and leaving out the details allows more freedom for corrections and adjustments.
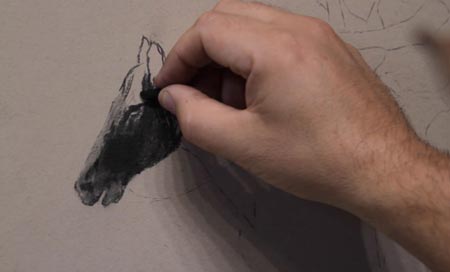
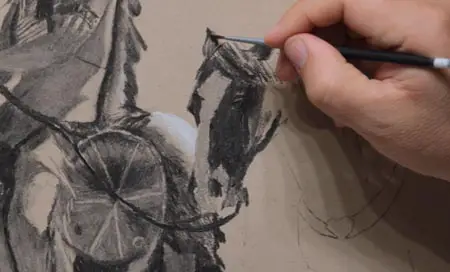
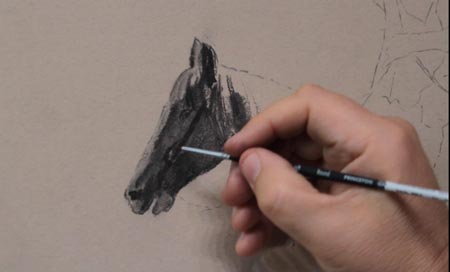
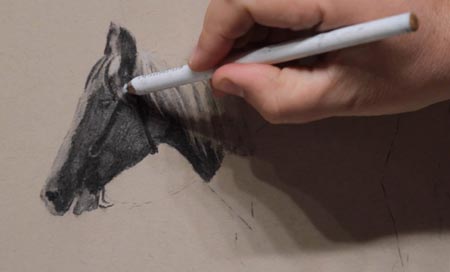
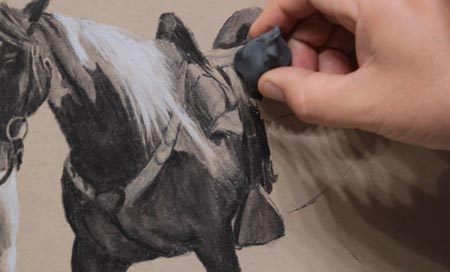
Using vine charcoal, work left to right, finishing as you go. Use a small sable brush to blend and soften, and a white compressed charcoal pencil for highlights.
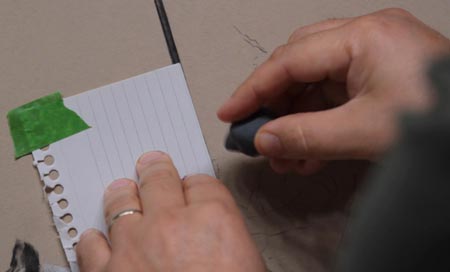
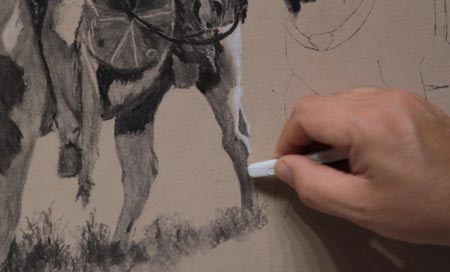
One great advanced charcoal technique is to create a perfectly straight, clean edge with charcoal, by gently attaching an index card into the paper with painter’s tape and run along the edge of the card with a kneaded eraser.
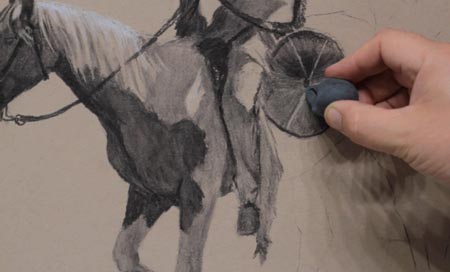
Shape a kneaded eraser to erase highlights and details into the charcoal.

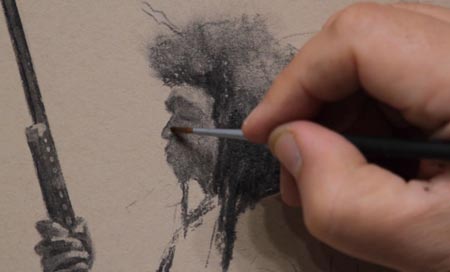
The rest of the figure is laid in with vine charcoal which is then blended with a brush and a blending stump. The brush is more delicate and can actually lighten the value of the area more than a blending stump since it doesn’t grind the charcoal into the paper as a stump does.
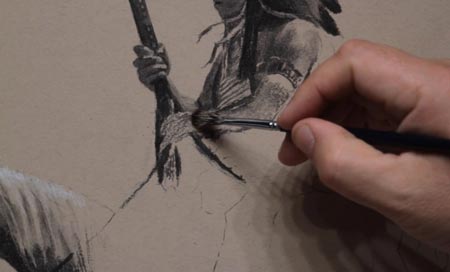
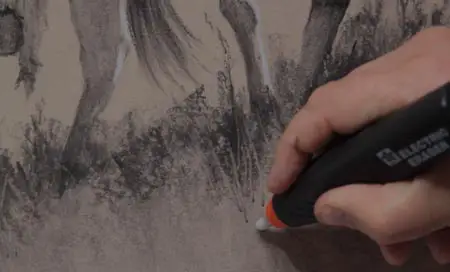
Continue to work to the bottom right of the composition to avoid smudging, using a combination of tools to blend and smooth your strokes. For the grass, use the side of a piece of vine charcoal, applying it gently as to leave some texture, then lightly blend it with a paper towel and a brush. To create thin blades of grass, take an electric eraser and sharpen the tip to a point by running it on sand paper. Then run the eraser over the charcoal with smooth upward strokes, removing any small areas of build-up with a blending stump.
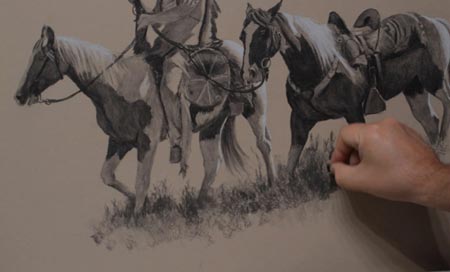
This completes the drawing with little to no mess. Be sure to check out the video showing the completion of this drawing and subscribe to my channel to see more upcoming instructional videos.
Thanks, and keep drawing!
Jason Tako is a nationally known fine artist who specializes in western, wildlife, plein air, and Historical Native American subject matter. He spent his learning years sketching the wetlands and wooded areas of rural Minnesota. He has been featured in Plein Air Magazine and Western Art Collector Magazine and he was the Featured Artist for the 2020 Southeastern Wildlife Expo. See his work at www.JasonTako.com and his demonstrations on his YouTube Channel.
Warning: Undefined array key "preview" in /home3/mysketc2/public_html/wp-content/plugins/oxygen/component-framework/components/classes/comment-form.class.php on line 75
Warning: Undefined array key "preview" in /home3/mysketc2/public_html/wp-content/plugins/oxygen/component-framework/components/classes/comment-form.class.php on line 79