What Is Needed for Charcoal Drawing?
Charcoal is considered to be the oldest drawing medium in the world. Charred sticks were used to make marks on ancient cave walls. Despite this being the most primitive medium, there are an array of additional tools that make this enduring medium very modern. So let's look at a list of items that are needed for charcoal drawing.
Vine Charcoal
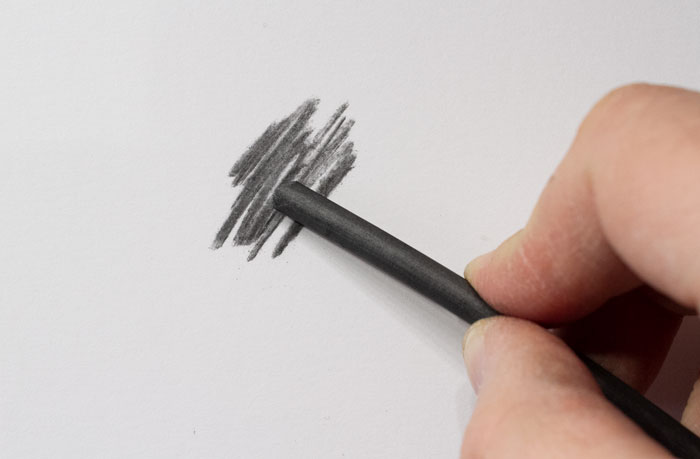
Vine charcoal is the essential and most basic medium for drawing with charcoal. Most all vine charcoal is made from actual wood sticks that have been baked and charred at high temperatures. The result is a light, soft medium that makes medium to dark marks on the paper.
Vine charcoal has a number of advantages over other types of charcoal that we will explore below. The first advantage is the tremendous value range you can obtain. You can draw just as light as graphite, but go much darker (provided you are using soft vine charcoal).
No matter how dark you go with charcoal, it retains a matte finish which helps it maintain rich, dark values. Dark graphite usually results in an annoying glare, especially when applied heavily. Charcoal never does this.
If you want to cover a large area quickly, thick pieces of vine charcoal will do the trick. Vine charcoal comes in a variety of thicknesses and sizes. You can make strokes several inches thick with just one pass. Not only is this a quicker way to draw, but the strokes are bold and painterly. In fact vine charcoal is very similar to painting but with a dry medium.
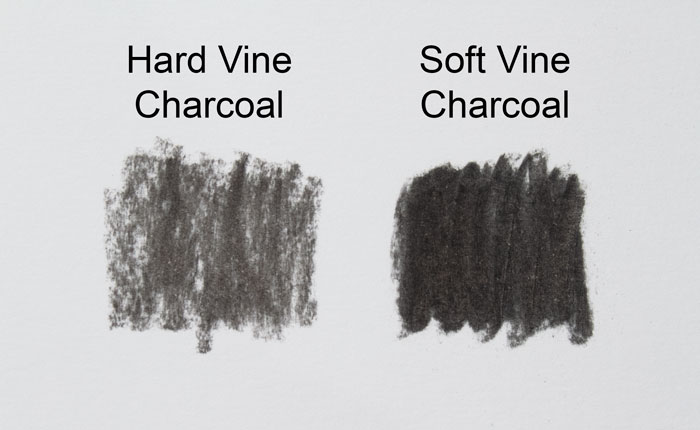
Vine charcoal comes in different grades such as hard, medium, soft and extra soft. Hard is going to be lighter, harder, and more abrasive on the paper. Soft vine charcoal will consequently be softer, darker, and smoother on the paper. Soft will also blend more smoothly than hard.
Vine charcoal, especially soft vine charcoal is very forgiving. As long as you don't apply with too much pressure, you can remove most if not all of what you apply to the paper. This makes it a perfect medium for negative drawing or drawing with an eraser.
For me, the best thing about vine charcoal is its incredibly blending capabilities. This is where it's almost like oil painting. You can achieve seamless blending through a variety of techniques we will explore below. This ultra-smooth blending is great for everything from skin tones to atmospheric effects.
All the positives of vine charcoal can also present a challenge. The main complaint with vine charcoal is that it's messy. Its ability to easily erase and blend means it doesn't adhere to the paper like other mediums. It's common for it to end up on your hands and spread to places you don't want it to go.
One trick I do is attached my paper onto a large clipboard and secure the board upright on an A-frame easel. I then hook a small cane onto the back of the board and rest my hand on the cane if need be. I will also work from left to right (since I'm right handed). These two tricks really help keep down on smudges and mess.
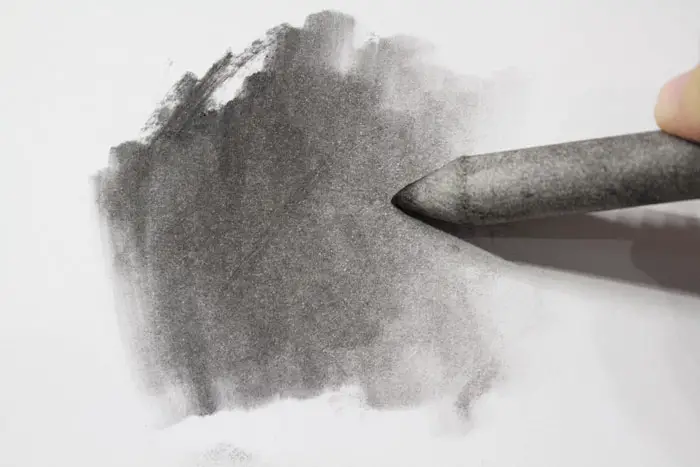
Compressed Charcoal
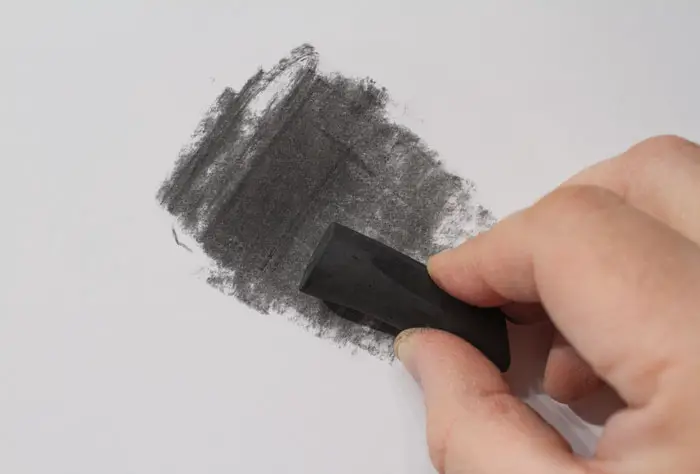
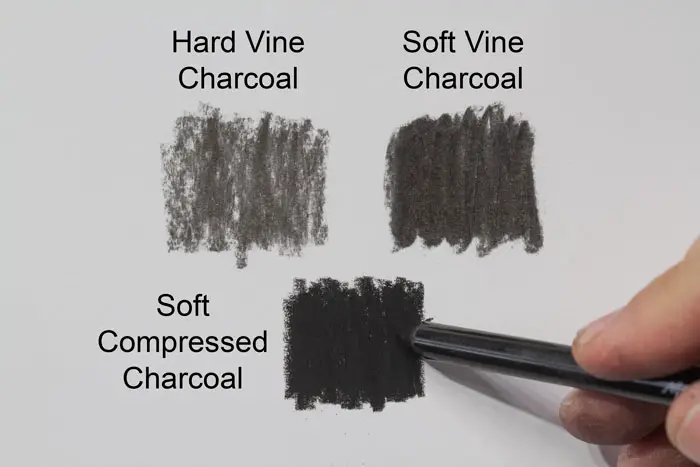
If you want to achieve deep, rich blacks then you will want compressed charcoal. Compressed charcoal produces even darker results than vine charcoal, yet it retains a matte surface with no glare. It's arguably a little less messy than vine charcoal as it hugs the paper more than vine.
Compressed charcoal's ability to hug the paper more makes it more difficult, and in some cases almost completely impossible to erase. Therefore it's best to not apply compressed charcoal until your are absolutely sure that you need it and that your putting it in the right spot on your drawing. If you do need to apply it early on, use very light pressure. If lightly applied you should still be able to easily erase it.
Vine charcoal also doesn't blend as easily as vine charcoal. A blending stump will work but using softer blending techniques such as a brush will have little effect. But if you want the blackest blacks that charcoal has to offer, then compressed is the way to go.
Compressed charcoal comes in several forms such as pencils or sticks (even wide sticks). And it comes in different grades such as 2B, 4B or 6B, etc. The higher the number before B, the softer and darker it will be.
White Compressed Charcoal
If you are drawing on dark or colored paper, you may find white compressed charcoal comes in handy for creating highlights or other accents. White charcoal comes in both pencil and stick form.
White charcoal feels more like a hard pastel and is a little more difficult to lay down on the paper than back charcoal. More pressure is usually required, but this can result in burnishing which makes it even more difficult to lay down. I've found it's easier to apply in pencil form than stick form. The pencil is easier to sharpen which eliminates the burnishing and creates a fine point.
I've never had much luck applying white charcoal over dark charcoal. Given its hard, pastel-like characteristics, it usually just blends with the looser black charcoal and makes a mess. You may be able to lay a small accent down here and there, but white charcoal works best when it applied pure paper. Also, white charcoal doesn't erase nearly as easily as does black charcoal, so use it carefully.
Charcoal Powder
If you want to take your charcoal drawing to the next level then charcoal powder is a must! You can drop some powder into your paper and brush, blend and even blow it across the paper for different effects. I like to dip a brush or a sachet into powdered charcoal and dry-paint on the paper. For ultra-smooth blending try applying powdered charcoal with a make-up sponge.
H-Grade Pencils
If the subject I'm drawing has precise, small shapes, I've found it very helpful to first lightly draw the outlines of my subject using an H-grade pencil. The hard, thin lines do not interfere with subsequent layers of charcoal. I make sure to draw the lines lightly so I can easily erase them or over them with charcoal. Make sure not to press too hard as this will cause indentations in the paper that will show through the charcoal.
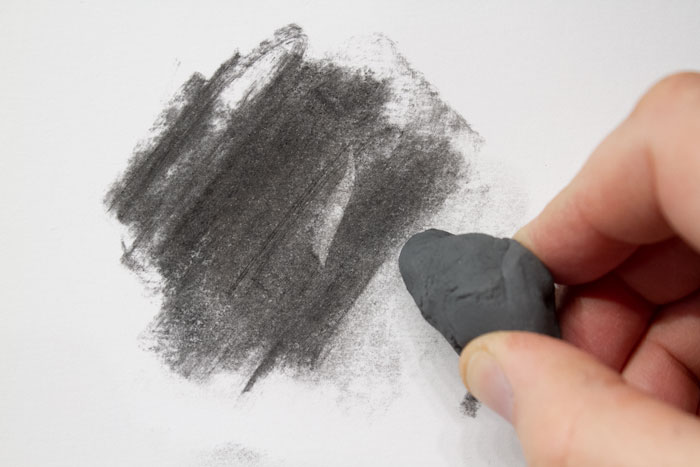
Kneaded and Electric Erasers
There are a number of different erasers on the market, but my favorite is the kneaded eraser. It's not abrasive and will not remove or destroy the fibers of the paper, yet it does a great job of removing charcoal. A piece of kneaded eraser will last quite a while and you can shape it to erase small or big sections.
Other erasers that I've used are the Moo Professional eraser and the Factis Black Eraser. Both of these also work well. Another tool I've found to be very handy is an electric eraser. This is a device that has a cylinder-shaped eraser that rapidly spins. I like the sharpen the eraser to a point using sandpaper. This allows me to erase very thin, precise lines. The electric eraser is also good for erasing marks that other erasers cannot erase.
Charcoal Paper
Now that you have charcoal and the means to erase it, you will need something to draw on. There are many papers out there, and some that claim to be made specifically for charcoal. I've found these papers to sometimes be too rough and show too much paper texture. I prefer a smooth, bristol board and the Strathmore 400 Series paper. The mixed media paper is heavier and more durable.
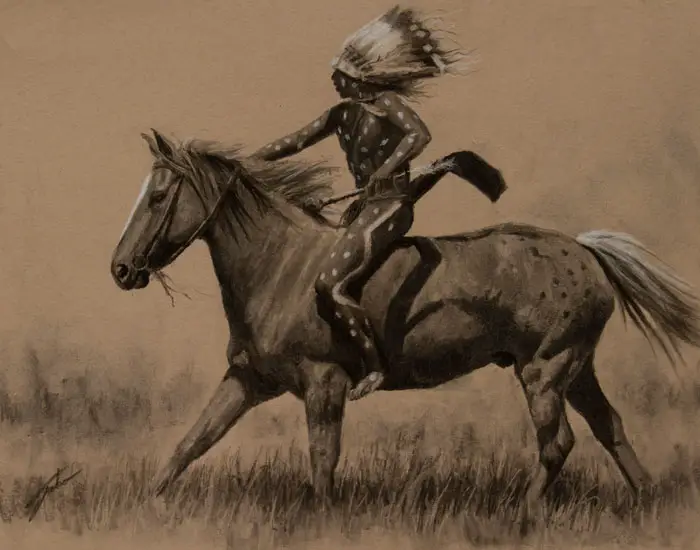
Paper can be a very personal choice. I recommend you experiment until you find one that works with your style. Below is an example of Strathmore Toned Tan paper that I like to use.
Tortillon or Blending Stumps
There are many ways to blend and smooth charcoal. The first tool to consider is blending stumps. There are two basic types, tortillon, which is made of rolled paper, and blending stumps which is more tightly rolled paper that is sanded to a point and one or both ends. I prefer blending stumps over tortillon.
To blend with a blending stump you just gently rub the stump over the area you want to blend. If used correctly you will get a very smooth blend and tonal transition. You can blend small areas using the tip, or larger areas by using the side of the tapered part of the stump. Blending stumps are cheap and can last quite a while.
I recommend using a different stump for black charcoal versus white charcoal. Using the same stump for both will result in a messy grey smudge.
Soft Paint Brushes for Blending
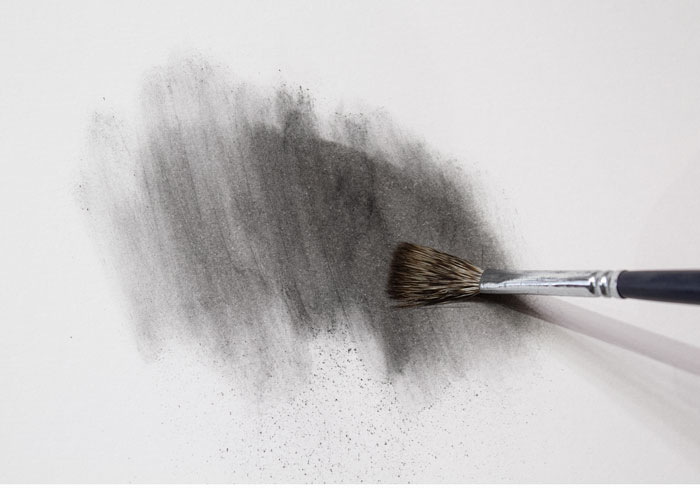
Soft brushes such as those used for watercolor or even oil painting is another great way to blend charcoal. Just be sure that the brush you use has never been used for actual painting, especially oil paint. I like to use a soft badger hair or imitation badger hair brush such as ones made by Langnickel or Rosemary & Co.
Brushes tend to pick up more charcoal than a blending stump. This is handy if you want to both blend and lighten the value of a particular area.
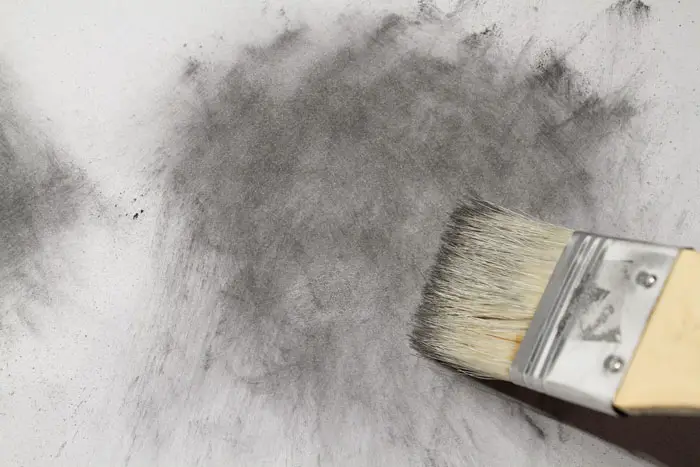
Hake Brushes for Subtle Blending
Hake brushes are broad, fairly rough bristle brush, but I've found them to be surprisingly subtle when it comes to blending charcoal. They don't remove much of any charcoal, even powdered charcoal. They also can leave fine lines or brush marks which make them great for implying grass or other similar textures.
Natural Chamois for Significant Blending
Chamois is another blending method that uses a natural chamois cloth. This method works great for softening large areas on a drawing, such as backgrounds, skies, etc. It can also create textures not achievable with a blending stump or a brush.

One thing about using a chamois is that it will remove a lot of vine charcoal from the paper (see above). It doesn't have much of a blending effect on compressed charcoal, which could work great for softening the edges of compressed charcoal without totally losing its edges (see below).

I don't use a chamois much when I'm drawing however, it may work great for your style, and given its low cost, it's worth a try. Many art supply stores carry small cloths that are perfect for drawings.
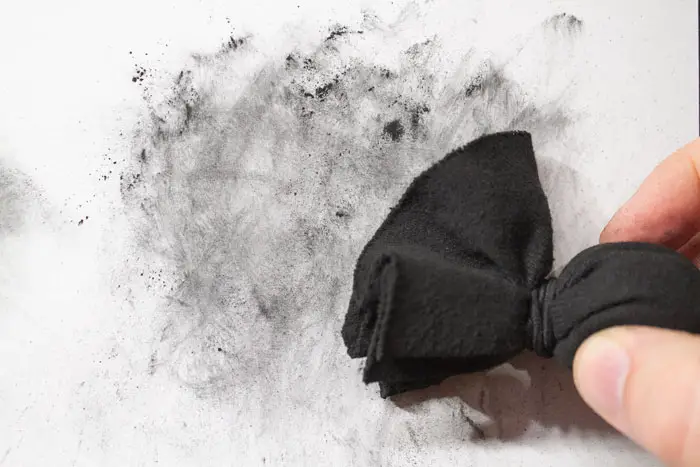
Charcoal Blending Sachet
A sachet is a little cloth sock that is filled with some powdered charcoal and tied so as to form a cloth ball that is used for applying and blending charcoal. I like to also use the tied end to achieve random, abstract shapes and blending.
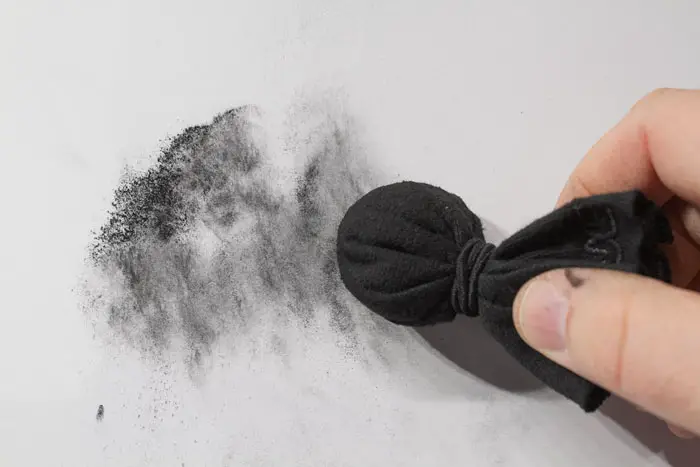
Dip the sachet into powdered charcoal and then tap it onto the paper to get interesting applications. Then you can rub the charcoal to spread and blend. It's a fun and serious tool for the charcoal artist.
Make-Up Sponges for Blending
Branching out beyond typical art materials, I've found that make-up sponges and applicators, combined with powdered charcoal provide the smoothest blending of any other tool or technique out there. These sponges come in a variety of sizes and shapes. The teardrop-shaped sponges will blend large and small areas with near-perfectly smooth gradation.

Make-up applicators are great for blending small areas. These are just little sponges on a plastic stick. Eye liner applicators allow you to blend very small areas.
Best of all these items are very cost-effective and can be found at almost any department store or online.
Acetone for Wet Effects
This is so much fun! Get some acetone or alcohol and using a spray bottle, lightly squirt it onto your charcoal drawing. This will create a cool splatter effect that cannot be achieved any other way. You can let the drips run down the paper for a wet look. The acetone or alcohol will evaporate quickly leaving interesting textures and effects.
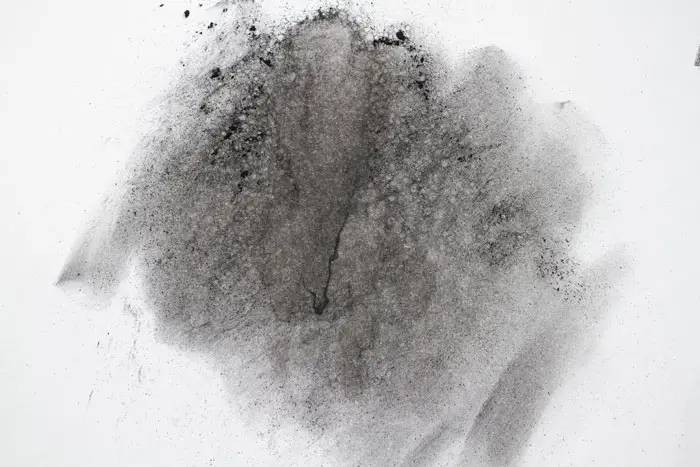
This technique works really well with powdered charcoal since it's easier to move and manipulate. If you are drawing on thinner paper be careful as too much acetone can cause buckling of the paper. This is one of the reasons I like to use thicker multi-media paper. Be sure to use a spray bottle that squirts courser drops of liquid. Bottles that spray very fine particles do not work as well.
Fixative Spray
Be sure to spray your drawing with a fixative spray when you are finished. Charcoal spreads very easily and any rubbing of the paper will mess up your drawing. I've found that two coats of fixative spray usually does the trick.
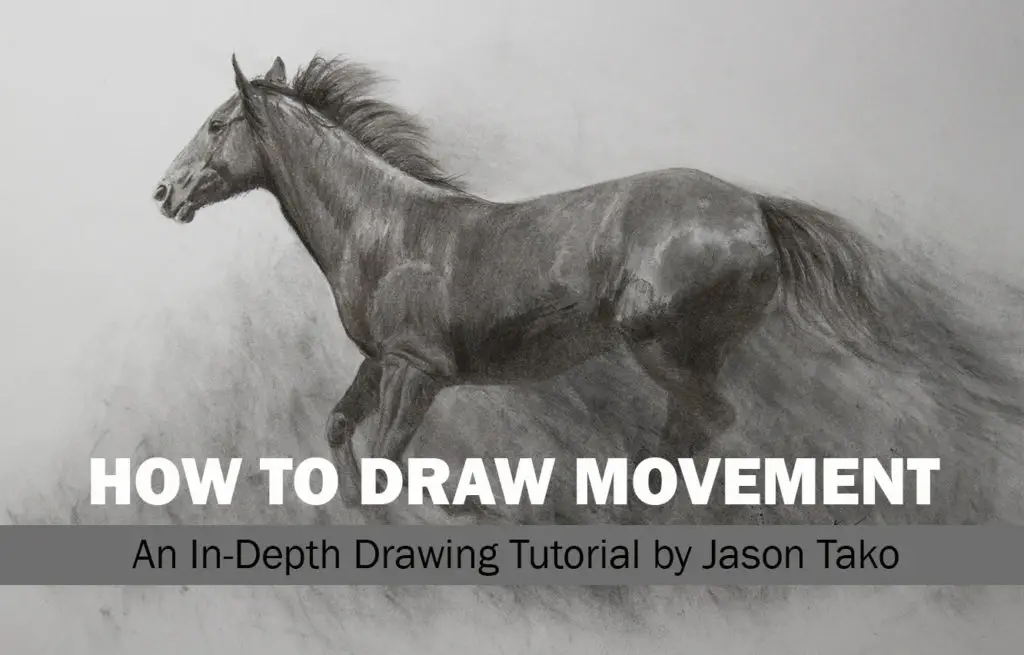
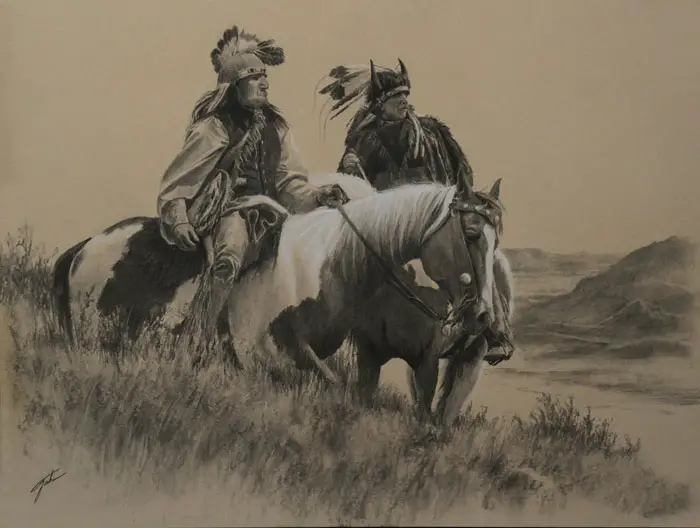
Jason Tako is a nationally known fine artist who specializes in western, wildlife, plein air, and Historical Native American subject matter. He spent his learning years sketching the wetlands and wooded areas of rural Minnesota. He has been featured in Plein Air Magazine and Western Art Collector Magazine and he was the Featured Artist for the 2020 Southeastern Wildlife Expo. See his work at www.JasonTako.com and his demonstrations on his YouTube Channel.
Warning: Undefined array key "preview" in /home3/mysketc2/public_html/wp-content/plugins/oxygen/component-framework/components/classes/comment-form.class.php on line 75
Warning: Undefined array key "preview" in /home3/mysketc2/public_html/wp-content/plugins/oxygen/component-framework/components/classes/comment-form.class.php on line 79